Differences Between Rendering Engines
DigitalSuite provides the following rendering engines for formatting and presenting web interfaces and their widgets on different devices:
- Application Runner: based on the Google Web Toolkit (GWT), a development framework for web applications.
- WIRE: based on React and Material-UI, a JavaScript framework and components for building user interfaces. WIRE is newer and more advanced than Application Runner. Major advantages are its improved responsiveness, rendering and rendering performance, ease of customization, full support of HTML5, lazy loading, and faster start of JavaScript and web interfaces in general.
Designers can select the rendering engine when they create a web interface. When designing and configuring the web interface with its widgets, some differences have to be taken into account, which are described in detail in the following sections.
Stylesheets and Styles
With Application Runner, layout and style settings are spread across a web interface and its widgets. With WIRE, all layout and style definitions are collected in a central stylesheet (CSS). In addition, WIRE comes with some out-of-the-box features that were not available with Application Runner, such as the central setting of a coloring scheme.
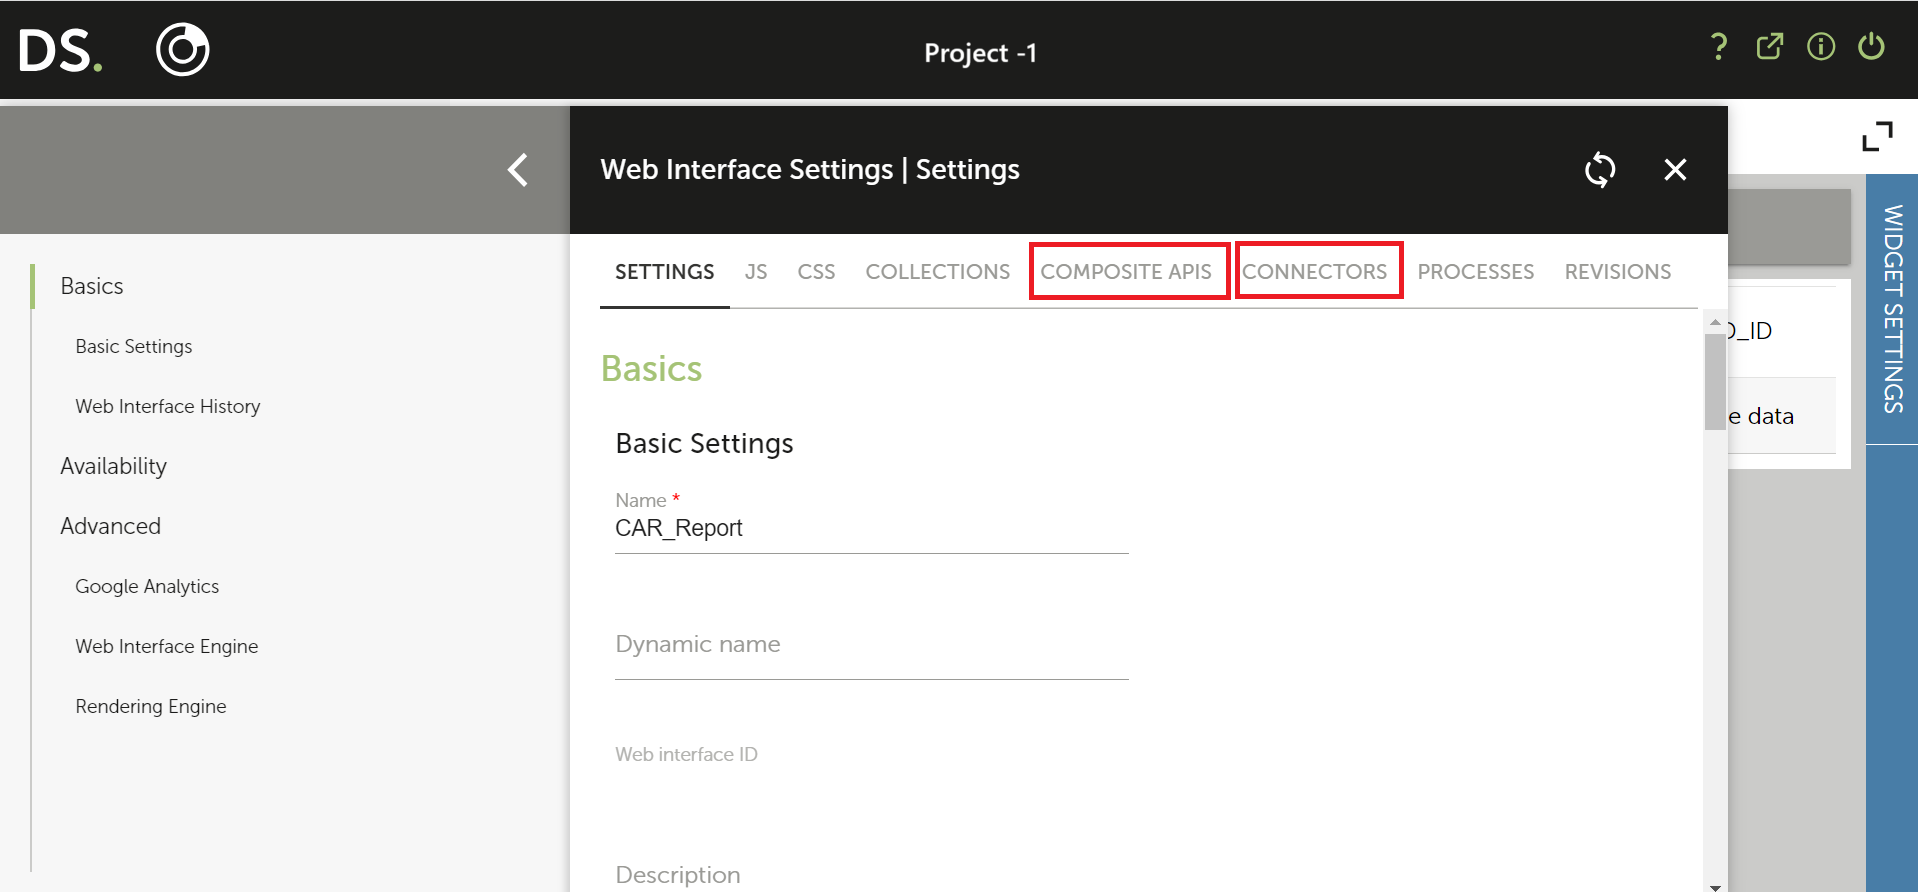
With both rendering engines, designers can add one or more custom stylesheets in the web interface settings. Templates are available which contain the predefined styles and can be used as the basis for the customizations.
The following table summarizes the differences between the rendering engines that are related to the layout and styling:
| Features | Application Runner | WIRE |
|---|---|---|
| CSS - general | Layout and style settings spread across each web interface and its widgets. | Layout and style settings collected in central CSS. |
| Colors | Definition of colors for the web interface and individual widgets spread in CSS. | Definition of a coloring scheme in the web interface settings. Additional color settings possible in central CSS. |
| Borders - web interface | Selection of a predefined layout and stylesheet with or without borders in the web interface settings. | Definition of border settings in a central CSS. The predefined layout has borders enabled. |
| Borders - widgets | Definition of borders in the settings of individual widgets. | Definition of borders in a central CSS. The predefined layout is without borders. |
| Text direction | Definition of the text direction in the web interface settings and in the settings of individual widgets. | Definition of the text direction can be configured in the web interface settings for WIRE. The default layout uses the left to right direction. The CSS global file can be used to seamlessly handle text direction for individual widgets. |
| Label width and position | Definition of the label width and position in the settings of individual widgets like input fields, lists, arrays, or execute script widgets. | Definition of the label width and position in a central CSS. In the predefined layout, labels are aligned left and above input fields or lists, and their width is optimized for WIRE. |
| Custom appearance of widgets | Definition of custom appearance using a class suffix for a style that starts with gwt-, for example, gwt-Button-mybutton. The class suffix is specified in the widget settings. |
Definition of custom appearance using a class suffix for a style that starts with rmp, for example, rmpButton-mybutton. The class suffix is specified in the widget settings. |
| Tabs widget | Tabs can be placed at the bottom and the minimum height be specified in the widget settings. | Tabs cannot be placed at the bottom. The minimum height can be specified in a central CSS, for example:.rmpTabs .headerTabPanel .headerTabsWrapper .tab {min-height: 60px;} |
| Custom widget | No global CSS; layout and style settings defined within the widget's elements. | Central CSS like for web interfaces, but without coloring scheme (the scheme of the parent web interface is used). The layout and style settings apply to the custom widget itself as well as to custom widgets it includes. |
| Checkbox and radio button lists | Limit columns count widget setting to display the values of the list in a specific number of columns. | No widget setting as not to impair responsiveness. The number of columns can be limited in a central CSS:.rmpMultiSelection .multiSelection-optionsContainer .multiSelection-optionLabel {/* to get 2 columns: */flex: 48%; /* or width: 48% (50% minus 2% for margin/padding) *//* to get 3 columns: */flex: 31.3%; /* or width: 31.3% */} |
JavaScript
With Application Runner, JavaScript code snippets are spread across a web interface and its widgets. Application Runner takes care about the execution order and event management, but maintenance of the distributed code is difficult.
With WIRE, all JavaScript code is collected in at least one central versioned file, which is configured in the web interface settings and executed for all web interface instances and screens. Functions for all predefined events of all widgets are available for controlling the execution in the central JS.
Both rendering engines come with their own JavaScript API. The APIs are identical in many aspects, but some differences have to be taken into account as described below. With both rendering engines, designers can add existing JavaScript files and libraries to their web interfaces in the web interface settings.
The following table and the subsequent sections provide an overview of the differences between the rendering engines that are related to JavaScript. For details on the mentioned functions, refer to the respective API documentation.
| Features | Application Runner | WIRE |
|---|---|---|
| API - general | JavaScript AR Widgets | JavaScript WIRE |
| API return values | Numbers are returned as String. Objects and arrays are stringified. For example: "[\"item1\",\"item2\",\"item3\"]" |
Numbers are returned as Number. Objects and arrays are parsed. For example: ["item1","item2","item3"] |
| JS SDK | JS SDK must be added manually to web interfaces, if needed. | The required version of the JS SDK is included in WIRE. There is no need to add it manually to a web interface. |
| JavaScript - general | JS spread across each web interface, its screens and widgets. | JS centralized in at least one file per web interface. Recommendation: The entire JS in a file should be enclosed in an IIFE to keep the DOM clean. |
| JS in web interface settings | JS files and libraries can be specified for the header or footer to be executed before or after the web interface has been loaded. | All specified JS files and libraries are executed after the web interface has been loaded to avoid blocking and make sure that all screens and widgets are available. |
| Current screen | Known and controlled by Application Runner. | RMPApplication.getCurrentScreen function in central JS returns the current screen. This can be used for conditional execution of specific script sections, for example, to avoid problems with widgets which are not available in all screens. |
| Read-only screens | Widget-specific settings | RMPApplication.isCurrentScreenEnabled function in central JS returns if actions in the current screen are possible. This can be used, for example, to avoid the execution of JS when a screen is reloaded in read-only mode after its validation. |
| Variable values | "[[_variable_name_]]" can be used instead of getVariable (or equivalent) to retrieve the value of a variable. |
getVariable (or equivalent) is used to retrieve the value of a variable. |
| Custom widgets | No central JS; scripts defined within the widget's elements. | Central JS like for web interfaces. |
| Collections | Several JS functions have an option to execute them in synchronous mode. | Synchronous calls are no longer supported. |
JavaScript Differences for All Widgets
The following table provides an overview of the differences between Application Runner and WIRE which apply to all types of widgets.
| Features | Application Runner | WIRE |
|---|---|---|
| Dynamic creation, placement, and removal | Widgets can be created, moved, and removed by API calls. | Widgets can be created, moved, or removed dynamically by API calls. |
| Widget ID | Specified by developers in the widget settings according to their needs. | An ID is required for each widget. If developers do not specify an ID in the widget settings, it is generated automatically and used internally for all screens. Generated IDs are not displayed in the widget settings. |
| Visible / editable / required rules | JS for each rule specified in widget settings. | Functions in central JS file: _widget_id_.setVisibleRule_widget_id_.setActiveRule_widget_id_.setRequiredRuleAn example is provided below. |
| User input validation rule | JS specified in widget settings. | Function in central JS file: _widget_id_.setValidationRule |
Example:
With Application Runner, the following code can be specified as the editable rule in the widget settings of a text input widget, id_text1. The widget is editable depending on the length of text4:
"[[text4]]".length > 3
With WIRE, the following code would be used for the same purpose in a central JS file:
(() => {
      id_text1.setActiveRule(
           () => RMPApplication.get("text4").length > 3 ,
           [”text4”],
           true
     );
})();
Without specifying a condition, the function in the central JS file would look like this:
id_text1.setActiveRule(() => { }, [ ], true);
Or simply:
id_text1.setActive(true);
JavaScript Differences for Individual Widgets
The following table provides an overview of the differences between Application Runner and WIRE which apply to specific types of widgets in addition to those for all widgets described in the section above.
| Widget Type | Application Runner | WIRE |
|---|---|---|
| Autocomplete input | Post-loaded script, on load failed script, and on select script in widget settings. | JS functions in central JS file (JavaScript WIRE): _id_autocompleteWidget_.setquery_id_autocompleteWidget_.setLoadSuccessCallback _id_autocompleteWidget_.setLoadFailCallback_id_autocompleteWidget_.setSelectCallback |
| Buttons | Pre-launch script for several types of buttons and script for Execute Script button specified in widget settings. | JS functions in central JS file: _id_buttonWidget_.setOnPrelaunchScript_id_buttonWidget_.setExecuteScript |
| Indicators (spinners) | Can be created dynamically with JS. | Are implemented as SVG icons and cannot be created dynamically. The following API functions of Application Runner are not available:getUrlsetTargetUrlsetUrl |
| Lists and selectors | Post-loaded script in widget settings for all types of lists and selectors. | JS function in central JS file: _id_listWidget_.setPostLoadedScript |
| Reports |
|
|
| Custom report | Loading data script in widget settings in addition to scripts for all types of report | JS function in central JS file: _id_reportWidget_.setJsReportLoadingDataScript See example below. |
| Container | Visibility rule and editable rule in widget settings. | JS functions in central JS file. For details about methods which can be used for Container widgets, refer to JavaScript API for WIRE. |
| Array | Rules for adding and deleting rows; footer script for individual columns and for overall array; script to execute when adding a JS widget as an array column. | JS functions in central JS file: _id_arrayWidget_.setOnAddRowScript_id_arrayWidget_.setOnDeleteRowScript_id_arrayWidget_.setArrayColumnFooter_id_arrayWidget_.setArrayFooter_id_arrayWidget_.setArrayCustomColumnScript |
| Section | Rules for opening and closing the section in widget settings. | JS functions in central JS file: _id_sectionWidget_.setOnOpenScript_id_sectionWidget_.setOnCloseScript |
| Tabs | Visibility rule, editable rule, and click script for each tab in widget settings. | JS functions in central JS file: _id_tabWidget_.setVisibleTabRule_id_tabWidget_.setActiveTabRule_id_tabWidget_.setOnclickScriptThe relevant tab is specified by its index with each function. |
| Application History widget |
|
|
| HTML widget | HTML code may include JavaScript, for example, an onClick action. An HTML code sanitization option is not provided. |
HTML code may include JavaScript. For security reasons, however, JS execution is disabled by default. You can enable it in the settings of the HTML widget. If disabled, the HTML code is sanitized, removing any JS included in it. |
| JavaScript widget | JS to execute specified in widget settings. An option determines whether to execute the JS also on read-only screens. | JS to execute specified in central JS file. RMPApplication.isCurrentScreenEnabled function can be used to control the execution of the JS depending on whether a screen is read-only. |
| Upload widget | API functions to retrieve the widget's upload, download, and delete buttons, to set and get the upload button label, to get and set a tooltip, and to set the widget's value and execute an upload (required only for old Application Runner versions). | The following API functions of Application Runner are not available:getDeleteButtongetDownloadButtongetUploadButtongetTooltipsetTooltipgetUploadsetUploadsetValueupload - not required because the upload is executed automatically when files are selected or dropped in the widget. |
| Custom widget |
|
|
The following examples show JavaScript code for specific purposes of WIRE based web interfaces in a central JS file.
Report Widget Custom Column Script
Note: Please be aware that the JavaScript customizations described here apply only to reports displayed in a web browser. Reports generated by our backend systems do not use, nor execute, browser-level JavaScript.
The setCustomColumnScript JS function for Report widgets takes two parameters:
- The index of the column.
- The callback function used to fill the column. The callback function takes the current row as a parameter and returns an object that contains:
content: the content to be displayed in the report cell (text or HTML)afterCreate: a function to be executed after the content has been added to the columnbeforeUnmount: a function to be executed before the column is removed from the report
Example:
function customSciptCB (currentRow) {
    const id = currentRow.id
    function afterCreate ()  {
        console.log(' after create ----------------')
    }
    function beforeUnmount ()  {
        console.log(' before unmount ----------------')
    }
    return {
         content : 'custom column here ',
         // content may contain HTML like '<button> btn here</button>'
         afterCreateAction : afterCreate ,
         beforeUnmountAction : beforeUnmount
    }
}
id_report.setCustomColumnScript(3,customSciptCB)
Custom Report Loading Data Script
The setJsReportLoadingDataScript JS function provides the report content for Custom Report widgets. It takes a callback function with an options object parameter that includes:
options = {
   first : 0, // starting element; useful for pagination (number)
   nbElements: 10, // number of elements to display; page size (number)
   filters: [], // filters to apply (array like {"filter":"name","value":"smith","operator":"CONTAINS"},...]) ,
   orderBy: [] // column sorting (array like [{"order":"name","orderby":"desc"},...])
}
Example:
id_jsReport.setJsReportLoadingDataScript((options) => {
    var input = {};
    input.first = options.first;
    id_jsReport.setLoading(true);
    // 'data' is the report data from some source after applying filters and sorting
    id_jsReport.setData(data);
    id_jsReport.setLoading(false);
});
Custom Widgets
With Application Runner, accessing IDs and variables within a custom widget requires the RMP_this or RMP_this.variable prefix, for example:
// access the input with ID id_input_foo
RMP_this.id_input_foo.setValue('foo bar value');
// get the variable input_foo that belongs to the current custom widget
RMPApplication.get('RMP_this.variable.input_foo');
With WIRE, RMP_this and RMP_this.variable are not required to access a custom widget's own IDs and variables:
// access the input with ID id_input_foo
id_input_foo.setValue('foo bar value');
// get the variable input_foo that belongs to the current custom widget
RMPApplication.get('input_foo');
WIRE supports additional prefixes, RMP_parent and window, to address the IDs and variables of a custom widget's parent web interface or custom widget, or the root of a hierarchy of web interfaces and custom widgets, for example:
// access the input with ID id_input_foo in the parent
RMP_parent.id_input_foo.setValue('setting parent value: hello world!');
// set the variable input_foo in the parent's parent
RMP_parent.RMP_parent.RMPApplication.set('input_foo', 'foo bar value');
// access the input with ID id_input_foo in the root web interface
window.id_input_foo.setValue('setting parent value: hello world!');
Every custom widget provides a setLoadedCallback function. It allows to set a callback when the custom widget is loaded, so that its resources can be accessed from a parent.
// from root web interface
id_parent_cw.setLoadedCallback(() => {
    // inside this function, all resources of a parent custom widget are available
    console.log(id_parent_cw.id_parent_cw_users.getValue());
    // we can also set a callback for when a child custom widget is loaded
    id_parent_cw.id_child_cw.setLoadedCallback(() => {
        // now we can access the child custom widget's resources, for example
        console.log(id_parent_cw.id_child_cw.id_child_input_1.getValue());
    });
});
Listeners
Web interfaces based on Application Runner can be configured with listeners that trigger a composite API, connector, or process.
Whereas, for web interfaces based on WIRE, listeners that call Connectors are not supported. Instead, Composite APIs can be launched.

- With WIRE, a listener's launch event as well as any JavaScript executed upon specific events are handled in a central JavaScript file. The JavaScript to be executed is identified by a unique ID specified in the listener configuration.
This is similar to configuring a listener with a Composite API and the Manually via JavaScript launch event for a web interface based on Application Runner.
In summary, the differences between listeners with Application Runner and WIRE are the following:
| Features | Application Runner | WIRE |
|---|---|---|
| Action | Launch a composite API, connector, or process. | Launch a composite API or process. |
| Launch event | Specified in the listener configuration in the web interface settings:
|
Launch functions in central JS file:onScreenInitializedonListenedVarsChangedonApplicationClosedtrigger (same as with Application Runner) |
| JS upon event for composite API | Specified in the listener configuration in the web interface settings. | Success and failure callbacks of launch functions in central JS file - see example below. |
| JS upon process events | Specified in the listener configuration in the web interface settings. | Grouped into events object. Developers can select the applicable events and specify the events object with the launch functions in the central JS file - see example below. |
The following examples show JavaScript code for listeners of WIRE based web interfaces in a central JS file.
Composite API Listener
/**
------------   Composite API Listener ---------------
    The ID of the Composite API used here is id_userscapi
**/

const input = {"input_1":"value_1","input_2":"value_2"};
// input could be: var input RMPApplication.getAllVariablesValues();

const options = {
   "mode":"TEST",
   "Version":"7347",
   "listenedVars":['username'],
   "executeEvenEmpty ": false,
};
// or simply const options = {}; to execute the composite API with the mode and version of the web interface

function ok(P_computed){
   alert(JSON.stringify(P_computed));
}

function ko(P_error){
   alert(JSON.stringify(P_error));
}

id_userscapi.onListenedVarsChanged(input, options, ok, ko)
id_userscapi.onScreenInitialized(input, {}, ok, ko)
Process Listener
/**
------------   Process Listener ---------------
    The ID of the process listener used here is id_processListener
**/

const input =  RMPApplication.getAllVariablesValues();
const options = {listenedVars : ['username'], executeEvenEmpty : false}
const events = {
    started : () => console.log('started'),
    notStarted : () => console.log('not started'),
    waiting : (id, status) => console.log('waiting ', id, status),
    cancelled : (id, status) => console.log('cancelled ', id, status),
    completed : (id, status, initial, internal, completed) =>{
             console.log('- completed ------ \n ', id, status, completed)
    },
    aborted : () => console.log('aborted')
}
// events could contain the required event functions only, e.g.:
// const events = {
//    waiting : (id, status) => console.log('waiting ', id, status),
//    completed : (id, status, initial, internal, completed) =>{
//        console.log('- completed ------ \n ', id, status, completed)
//     }
// };

id_processListener.onApplicationClosed(input,{},events)
id_processListener.onListenedVarsChanged(input,options,events)
Other Differences
The following table provides an overview of miscellaneous differences between the rendering engines which designers should be aware of when developing web interfaces.
| Widgets | Application Runner | WIRE |
|---|---|---|
| Autocomplete Input widget |
|
The following settings are not available for web interfaces built with WIRE:
|
| Number Input widget | Formatting of numbers is based on the GWT format. | Formatting of numbers is based on Numeral.js. Any number pattern is supported, except for time and exponential patterns. |
| On/off widget | Implemented as a checkbox:  |
Implemented as a switch: |
| JavaScript widget | Icon in WebModeler Widgets tab: Representation on the WebModeler stage: Script result |
Icon in WebModeler Widgets tab: Representation on the WebModeler stage:  |
| Reports |
|
|
| Arrays |
|
|
| Date picker | Limited functionality. | Improved functionality and usability with date and range selection, filtering, manual input and display. |
| Captcha widget | Special effects designers can select in widget settings: Shadow, Grid, and None. |
Special effects designers can select in widget settings: Shadow and Grid. |
| Upload widget |
|
|
| Application History widget |
|
|
| Container | The web interface components can be opened in a modal window using the jQuery libraries. | The web interface components can be opened in a modal window using the container widget. The behavior is defined in DigitalSuite Studio using the following widget settings:
|