Project Setup
In this section, you will learn how to set up the project for your application.
Setting up a Project
A project is the starting point for building an application and organizing the resources related to it. To set up a project, proceed as follows:
- Go to the Project Configuration module.
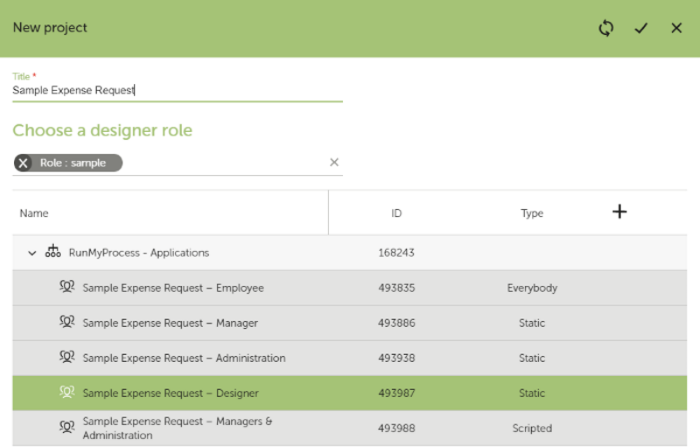
- Create a project and name it. The project name usually reflects the application's purpose.
- Select the initial Designer role for the project from an existing organization. All users with this role will be authorized to work on the project. The role gives them Designer access rights to all project resources. The organization and roles have been created in the previous step. For more details, refer to Users and Roles.
For details, refer to the following conceptual information:
Configuring a Project
For all configuration settings of a project, you use the Project Configuration module of DigitalSuite Studio. It provides you with direct access to:
- Project resources
- Project versions and execution modes
- Project access rights
- Attached files
- Subprojects
For details, refer to Project Configuration.
Sample Application
The project setup of the sample application includes the following:
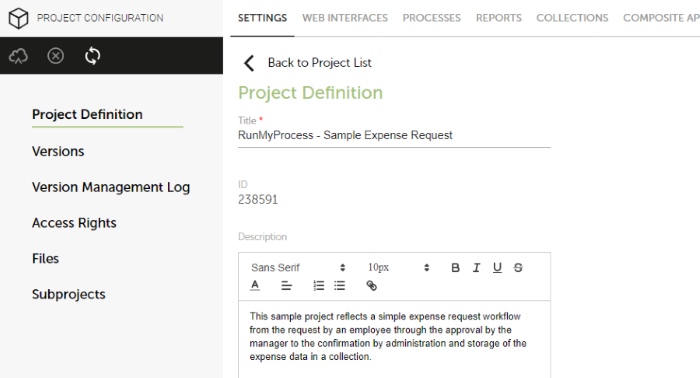
- The project is named Sample Expense Request, which is also the name of the application in this case.
- The Sample Expense Request – Designer user role from the Sample Applications organization serves as the initial Designer role for the project.
The following image shows the basic settings of the sample: